[Face Pointer]How to and Benefits
![[Face Pointer]How to and Benefits](https://dermacaredreams.com/wp-content/uploads/2025/01/Designsanstitre-22-e1737018751745.webp)
Benefits and Results of Using a Face Pointer: Why It’s Worth the Hype
If you’ve been scrolling through skincare tools or following beauty trends lately, you may have come across the face pointer—and with good reason! This device, which might seem like a simple, low-tech gadget at first glance, offers some surprisingly effective benefits for the skin. Whether you’re trying to give your skin a quick lift or smooth out a few lines, this tool could become your new best friend.
1. Reduction of Facial Sagging
One of the most noticeable results from using a face pointer is its ability to target sagging skin. As we age, our facial muscles naturally lose some of their firmness, which can lead to a drooping effect, particularly around the jawline, cheeks, and neck. By using the face pointer regularly, you can help stimulate these muscles, increasing blood flow and encouraging them to regain some of that lost firmness. Think of it as a mini workout for your face—no need for invasive procedures!
2. Lifted and Toned Appearance
The beauty of the face pointer is in its ability to act like a non-invasive facelift. By gently stimulating the facial muscles, it promotes a natural lifting effect. Consistent use helps sculpt the face, giving it a more youthful, toned appearance without any needles or downtime. It’s like a gentle massage, but with a focused purpose. Over time, you’ll start to notice your skin feeling more firm and lifted, especially around areas like the cheeks and brow.
3. Smoothing of Wrinkles and Fine Lines
Let’s talk about wrinkles. As we age, they’re bound to appear, but that doesn’t mean we can’t give them a little help in smoothing out. The face pointer works wonders on relaxing those tight facial muscles that contribute to the formation of lines and wrinkles. As the muscles release tension, those fine lines—especially around the forehead, eyes, and mouth—start to soften. Think of it as giving your face a mini facial workout, encouraging a smoother, more refreshed look.
How to Use a Face Pointer: Step-by-Step Guide
The face pointer is simple to use, but the key to getting the best results lies in the technique. You want to target specific areas of your face to relieve muscle tension and encourage circulation. Here’s how to do it:
Step 1: Hold It Right
Start by holding the face pointer like a pen, with a firm but relaxed grip. The tool should be held vertically to your skin to ensure the pressure is distributed evenly. Think of it like writing on your face, but with the goal of relaxing your muscles instead of leaving words!
Step 2: Apply Gentle Pressure
Place the face pointer against your skin and gently press down. You don’t want to push too hard, just enough to feel the pressure on the muscles beneath the skin. Focus on one area at a time, applying slow, consistent pressure to allow the muscles and fascia (the connective tissue) to loosen up.
Step 3: Focus on Each Area
For each area, spend about 1 minute gently pressing the pointer. This gives your facial muscles enough time to relax and benefit from the pressure. You can start with areas that tend to hold tension, like the jawline, temples, and forehead.
Step 4: Keep a Steady Rhythm
The effectiveness of the pointer relies on rhythm. Aim for around 2 presses per second. This helps stimulate circulation, improving blood flow to the skin and muscles. Think of it like a light massage, but with a purpose!
Step 5: Target Deeper Pressure Points
To get the best impact, apply the pointer directly onto the bones in areas like the jawline and temples. These spots tend to hold more tension and benefit from deeper pressure. Pressing at an angle can help release the fascia, making the muscle relaxation even more effective.
Step 6: Cool Down
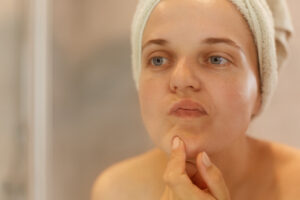
As you use the face pointer, you might notice some redness or even mild itching—this is totally normal and a sign that blood circulation is increasing. If it feels uncomfortable, don’t worry! Just grab a cold towel or some wet cotton and gently soothe the areas you’ve worked on. This will help cool down your skin and keep things feeling comfortable.
Pro Tip: Be patient and consistent! While results may be visible after a few uses, regular use over time will give you the most noticeable improvements. Keep a gentle, rhythmic pressure and focus on the areas that need it most. Your skin will thank you!
Target Areas for Face Pointer: Where to Focus for Maximum Benefits
When using a face pointer, knowing where to target is crucial for relieving tension, reducing facial sagging, and improving muscle relaxation. Here’s where you should focus for the best results:
1. Under and Above the Collarbone
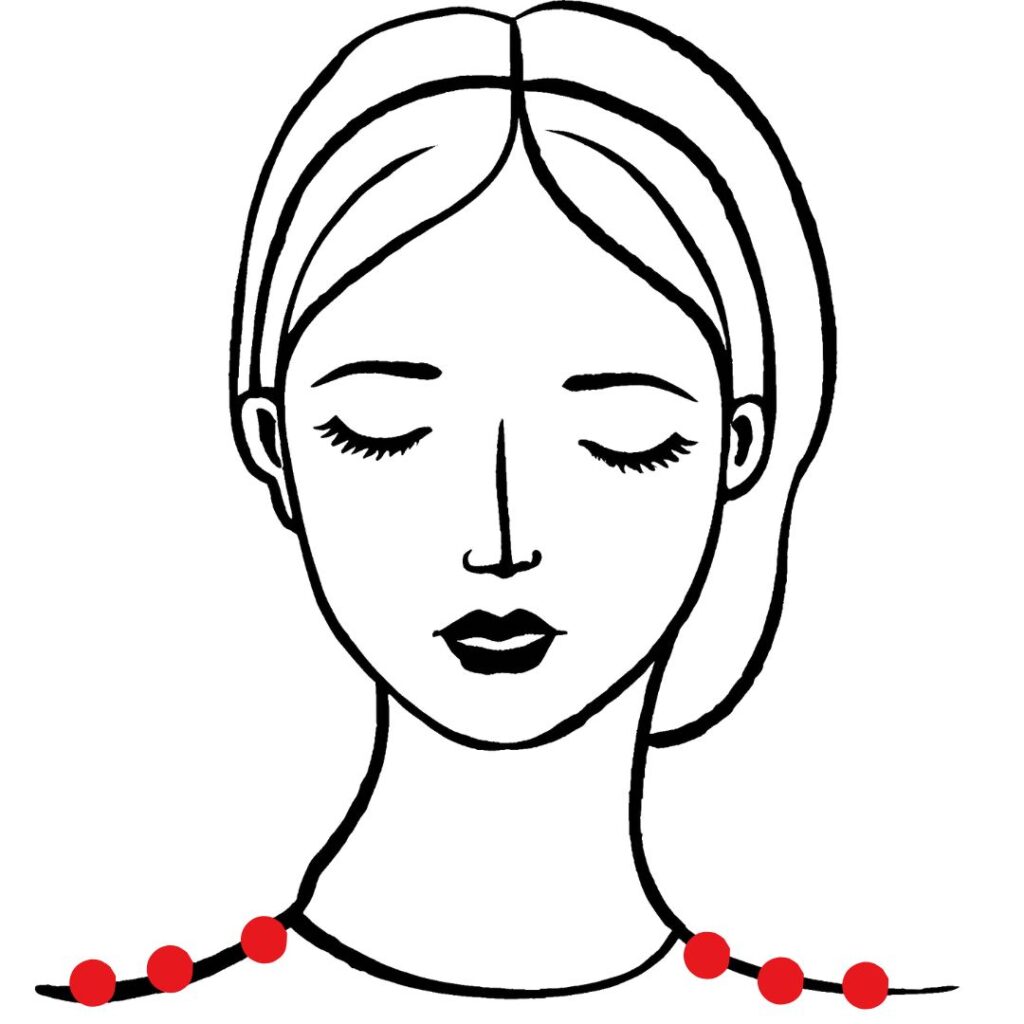
These areas are often overlooked but play an important role in facial tension. The muscles here connect to the neck and face, so relaxing them can improve overall muscle tone. Gently apply pressure to both above and below the collarbone to relieve tightness and improve circulation.
2. Sternocleidomastoid (SCM)
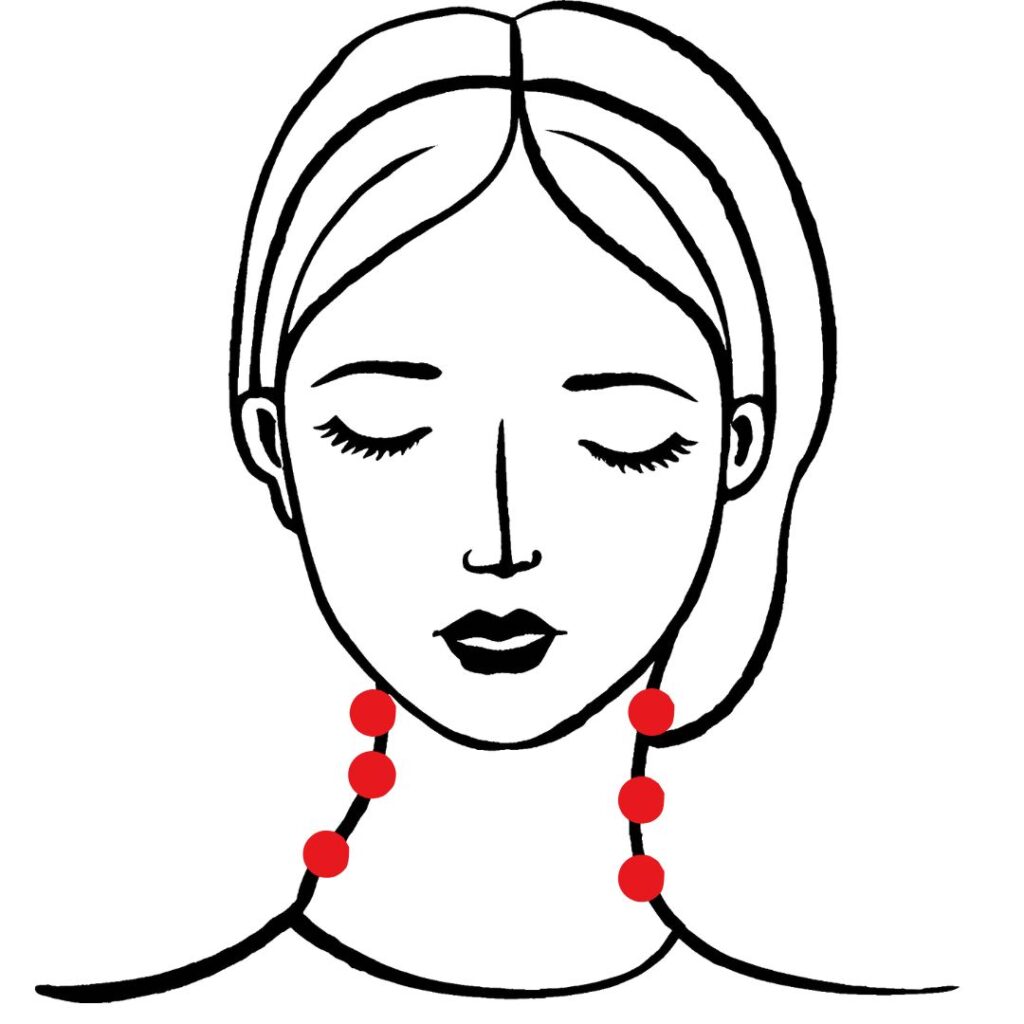
This muscle runs from your collarbone to the base of your skull. Tension in the SCM can contribute to headaches and stiffness in the neck, which also affects the appearance of the face. Using the face pointer along this muscle can relieve strain, encouraging a more relaxed and toned look overall.
3. Temporalis Muscles (Sides of the Head)
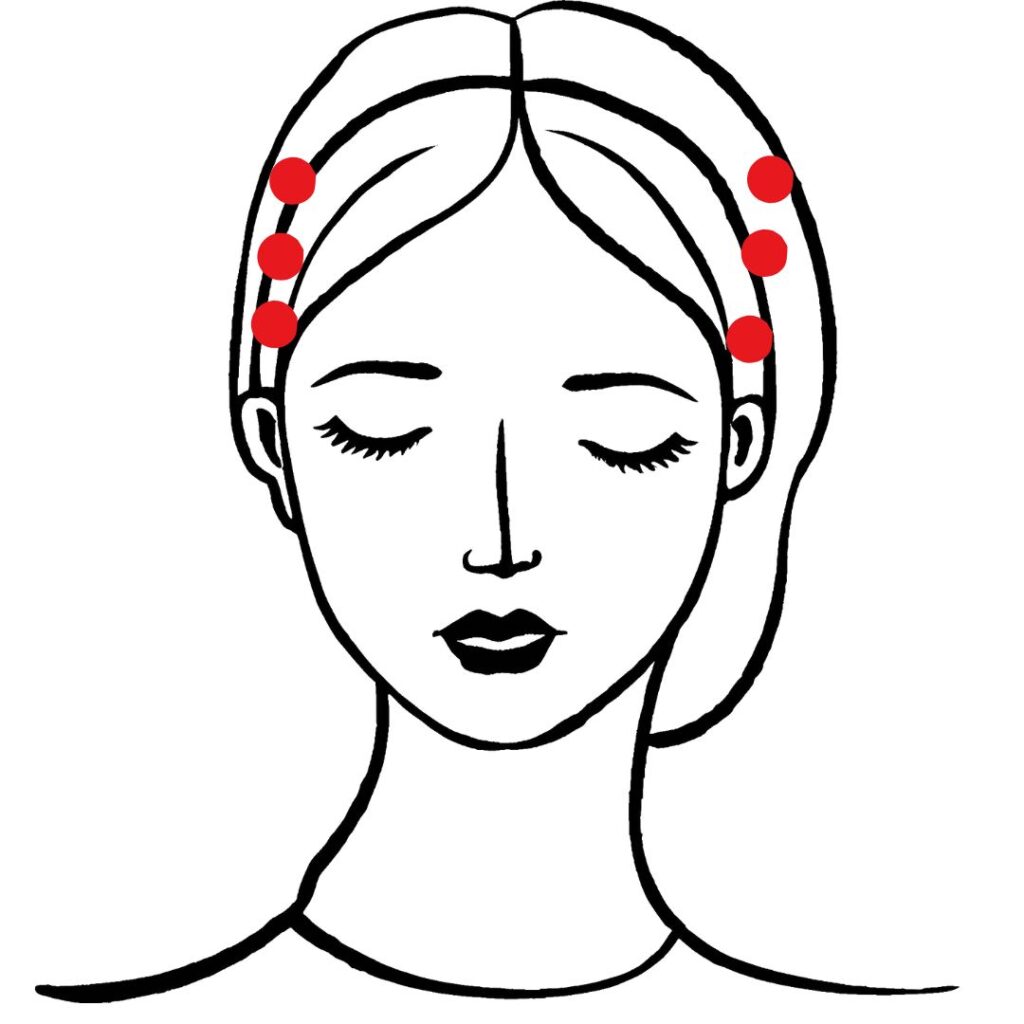
The temporalis muscles are located on either side of your head, just above your ears. They’re key players in jaw tension, especially if you grind your teeth or clench your jaw. Applying gentle pressure here can ease tightness, making your face look smoother and reducing the risk of jawline tension.
4. Scalp
The scalp is often forgotten in facial tension treatments, but it’s incredibly important. Tension in the scalp can cause headaches and contribute to hair thinning or breakage. Using the face pointer along your scalp can help release fascia tension, promote blood flow, and even encourage healthy hair growth.
5. Forehead
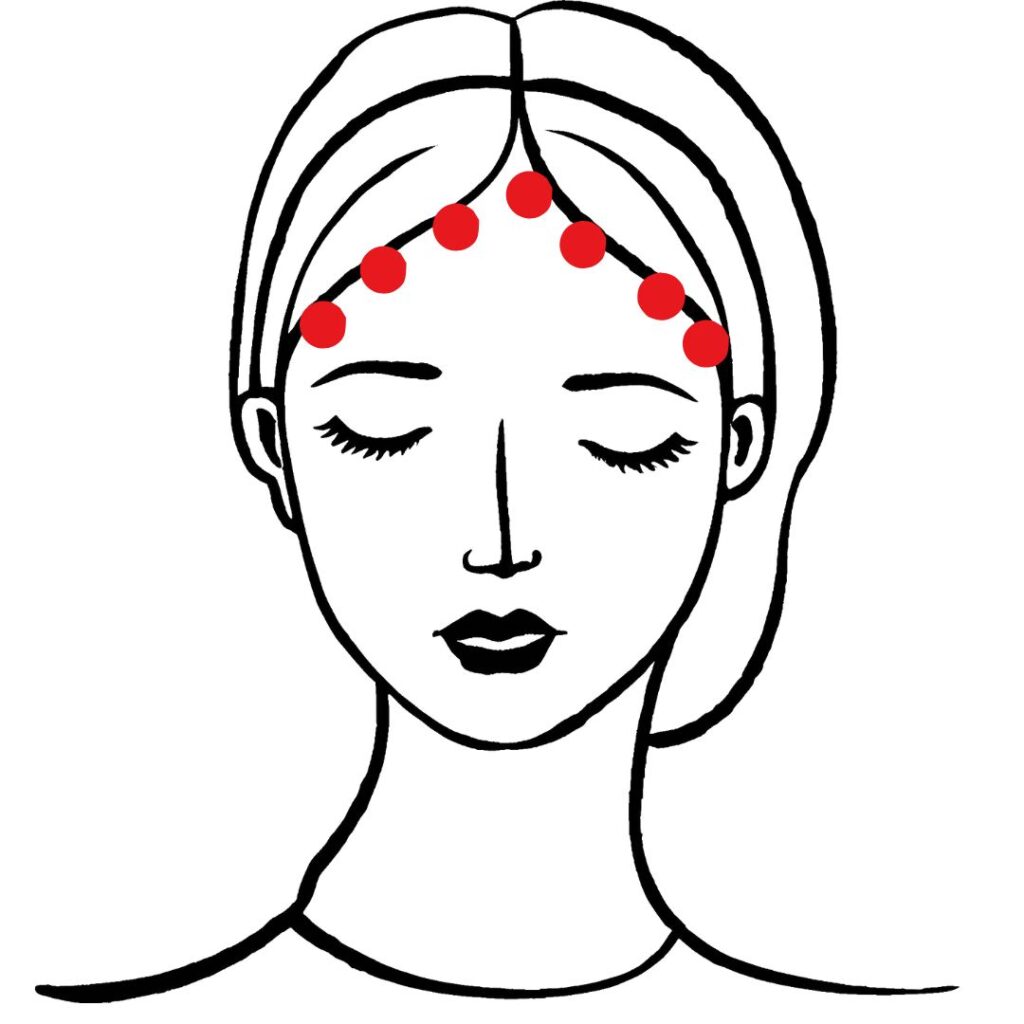
This area often holds the most visible tension—think frown lines or forehead furrows. Applying the face pointer to the forehead can help relax the muscles responsible for wrinkles, leaving you with a smoother, more relaxed appearance. Focus on areas between your eyebrows and across the forehead.
6. Masseter (Jawline)
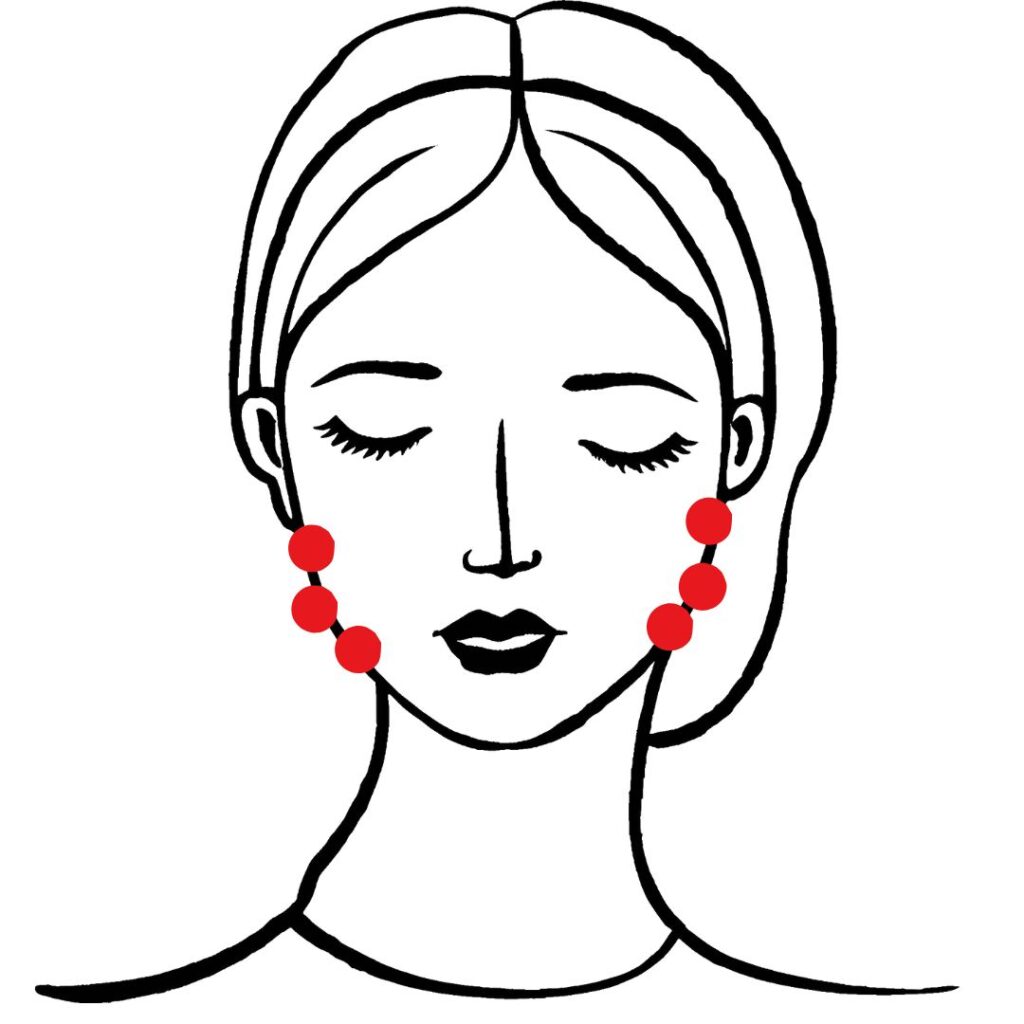
The masseter is the muscle responsible for chewing, and it can get super tight, especially for those who clench their jaws or grind their teeth. Applying the face pointer here can help release that built-up tension, giving your jawline a more defined, less rigid appearance.
7. Upper Lip Elevator
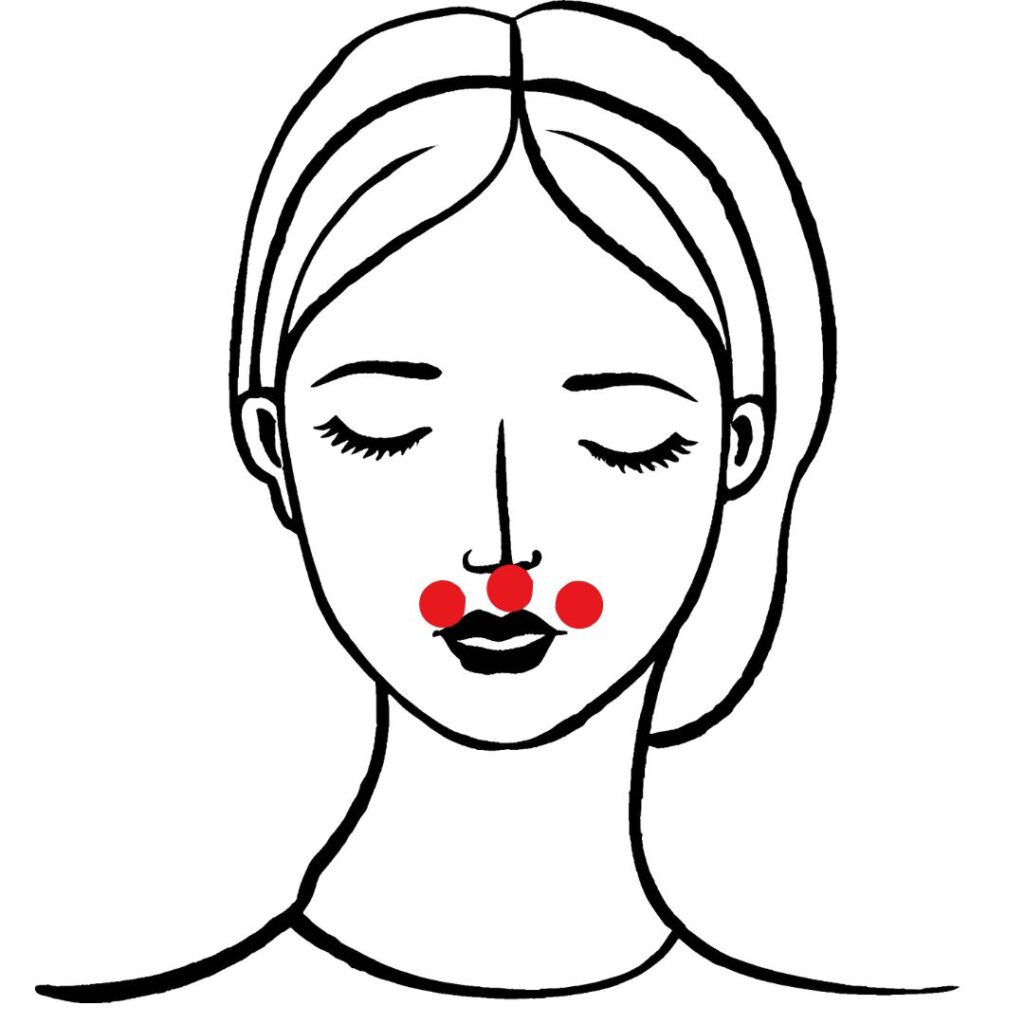
This muscle is involved in smiling and elevating the upper lip. Tension here can contribute to the appearance of fine lines above the lip and can even make your smile look more strained. Gently working the face pointer on the upper lip area can ease muscle tightness and smooth out the skin.
8. Frown Muscles (Glabella Region)
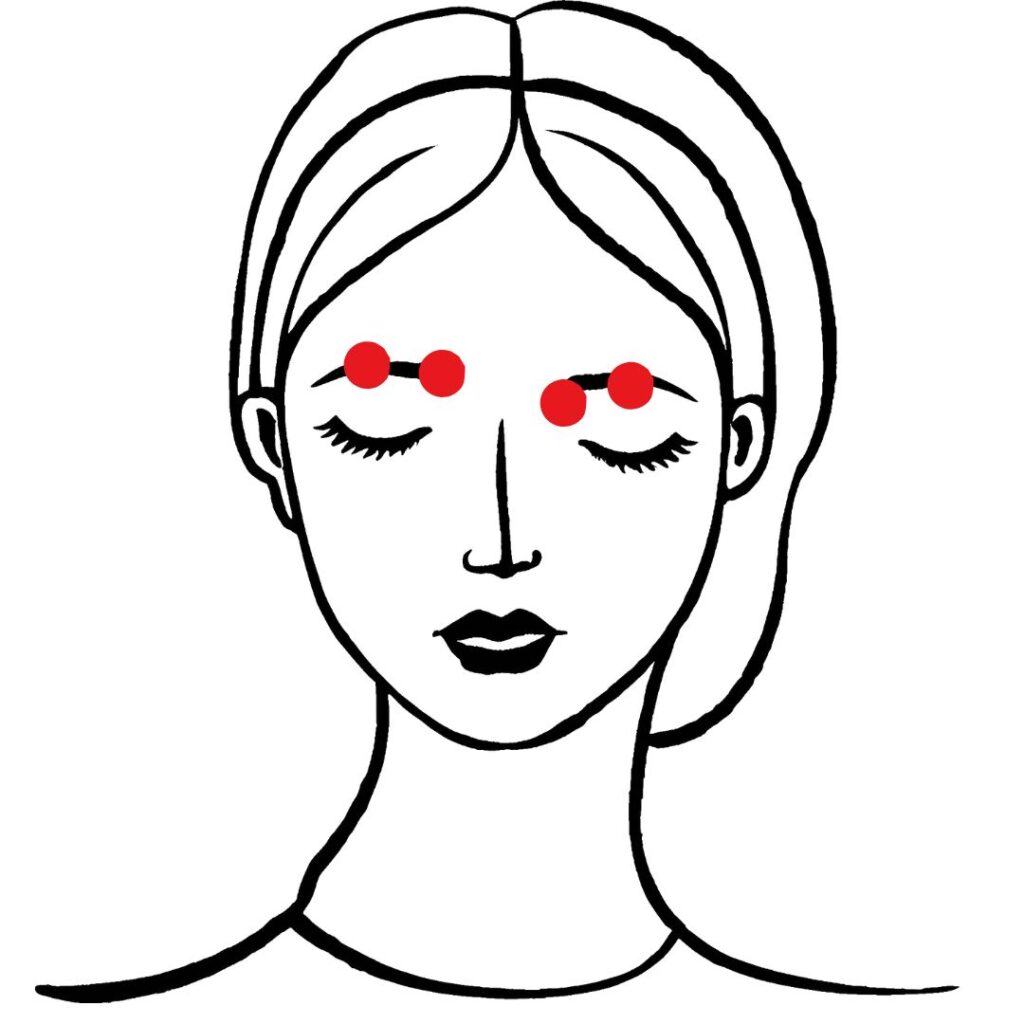
If you find yourself furrowing your brow often, you’re probably familiar with the frown lines that can form over time. These lines can become more pronounced if the muscles are overworked. Using the face pointer on the frown muscles (just above the nose and between the eyebrows) can help relax this area, promoting smoother skin and reducing tension.
Recommended Products for Enhancing Your Face Pointer Routine
If you’re looking to take your facial relaxation and muscle toning to the next level, consider incorporating specialized facial massagers that complement the face pointer. Here are a standout products that I’ve found really effective:
COREFIT Facial Massager
This sleek, handheld device is designed to target deep muscle layers and enhance blood circulation. It provides a more intense massage experience than manual techniques alone, and when used in conjunction with a face pointer, it can speed up muscle relaxation. The ergonomic design makes it comfortable to use and ensures that the pressure is evenly distributed across the face. I love using it along the jawline and forehead for extra relaxation.


Post Comment